

How To Install Brushes In Zbrush
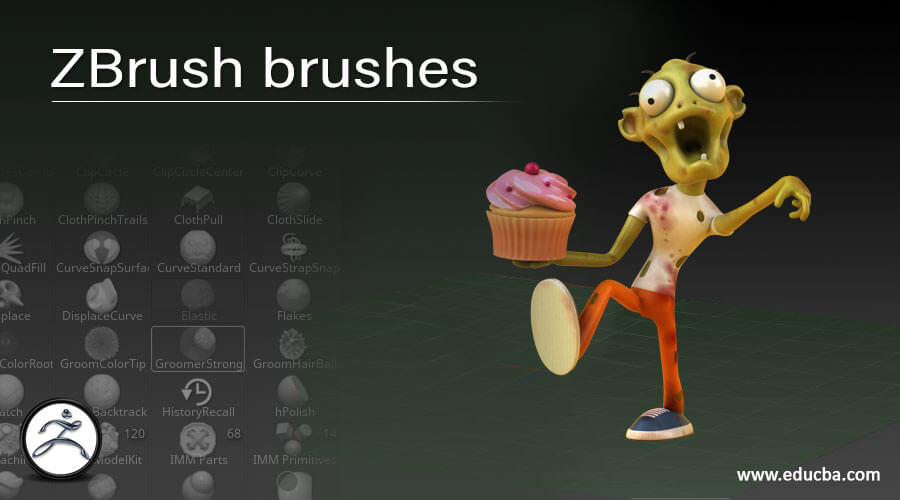
Introduction to ZBrush brushes
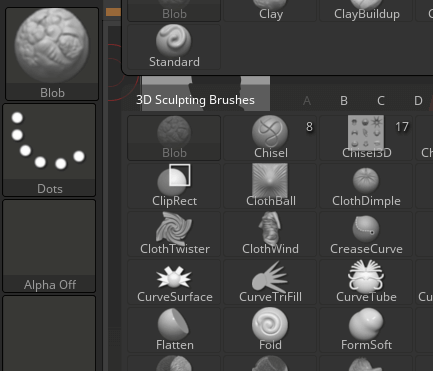
In this article, we are going to acquire about ZBrush brushes. There are many different brushes that you lot can use to sculpt in Zbrush. Each brush has some unique property that allows doing something which other brushes cannot. Brushes can be modified using several controls such as Gravity, Wrap Style, Density, etc. other than the standard Z intensity and Draw Size merely in this article, nosotros will stick to the default configuration. There are too many categories of brushes like prune, curve, planar, trim, InsertMesh, Bend Bridge, Alpha 3D but we are going to focus on sculpting brushes.
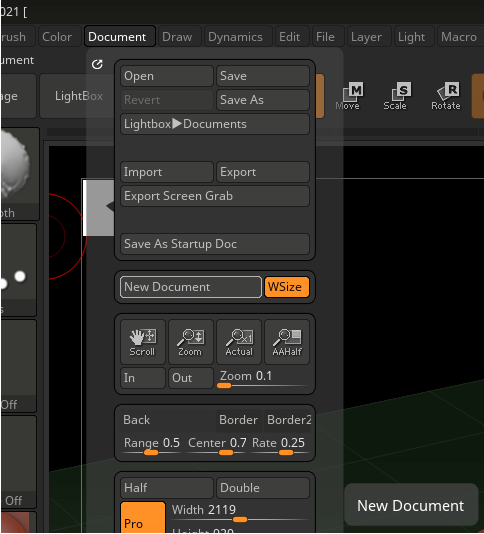
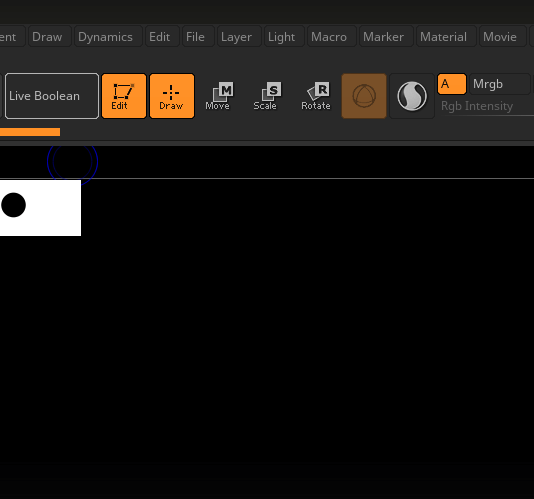
Step 1: Get to Certificate in the menu bar and and so select New document with WSize on which will make the canvas size the same as the viewport size.
Pace 2: Starting time with A Load tool option.
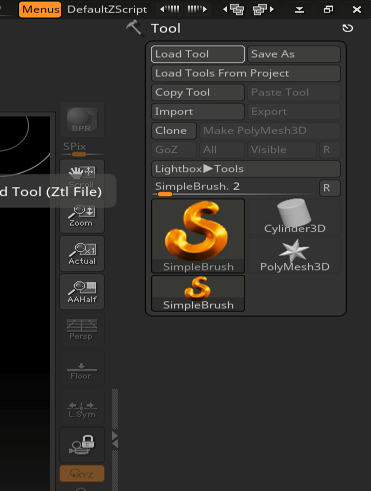
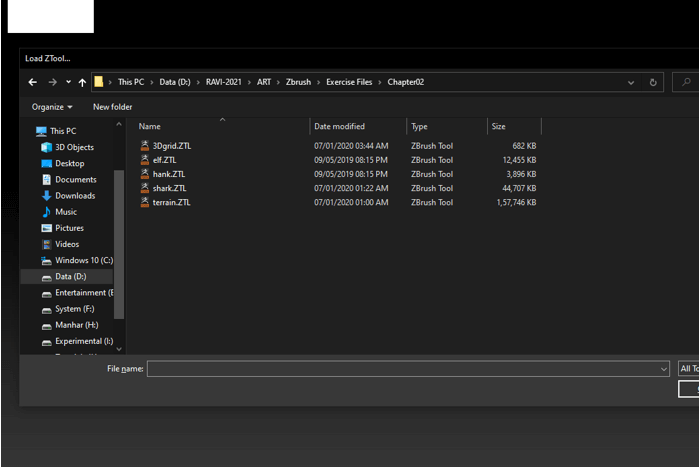
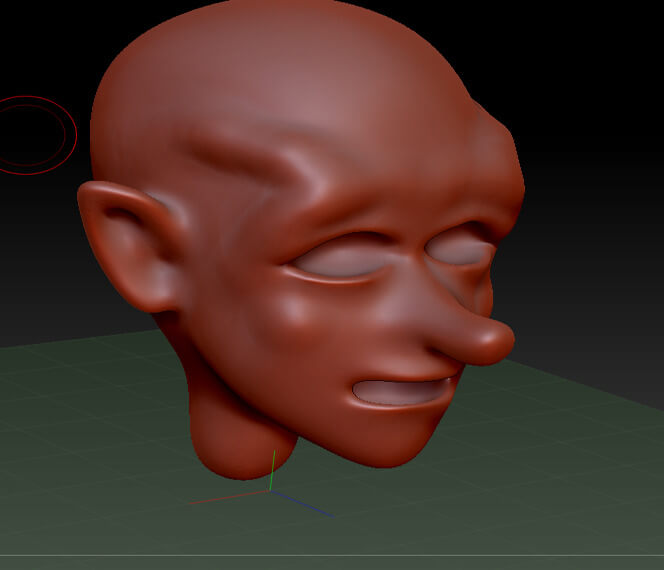
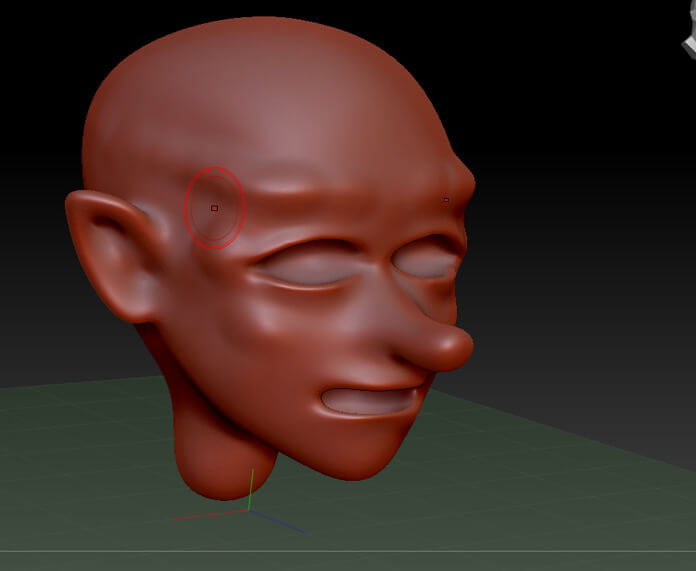
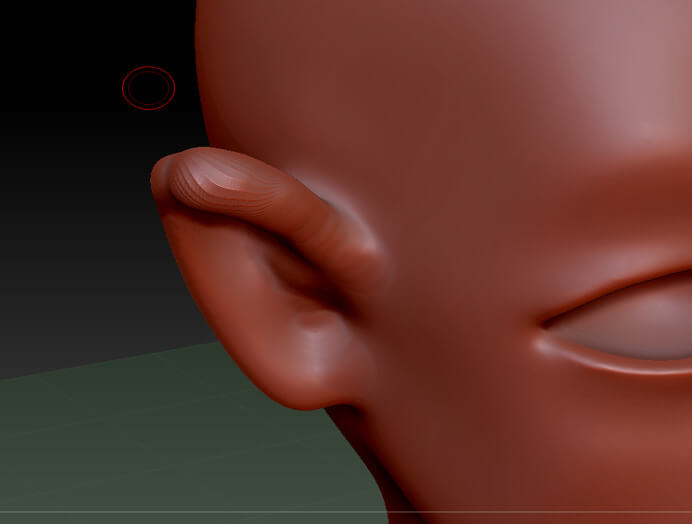
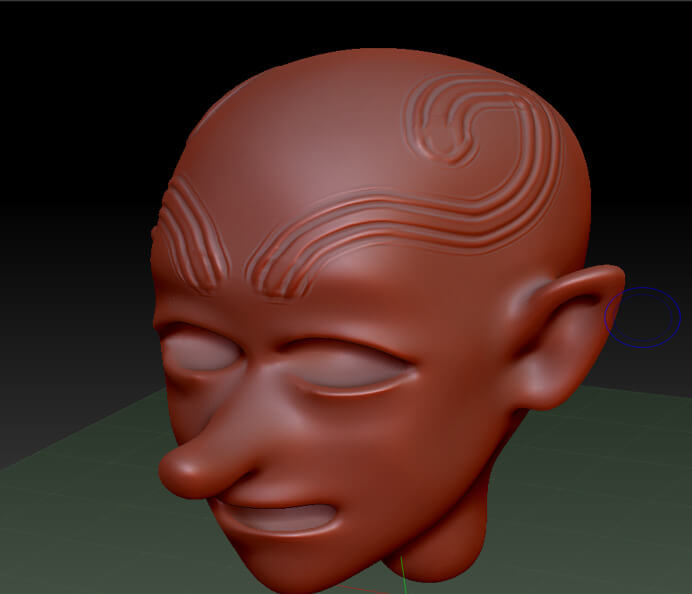
Footstep three: Navigate to the stored tool if you take whatsoever or you can select some primitive tools like a sphere equally this tool volition amend demonstrate various brushes.
Step 4: Then drag the tool inside the viewport.
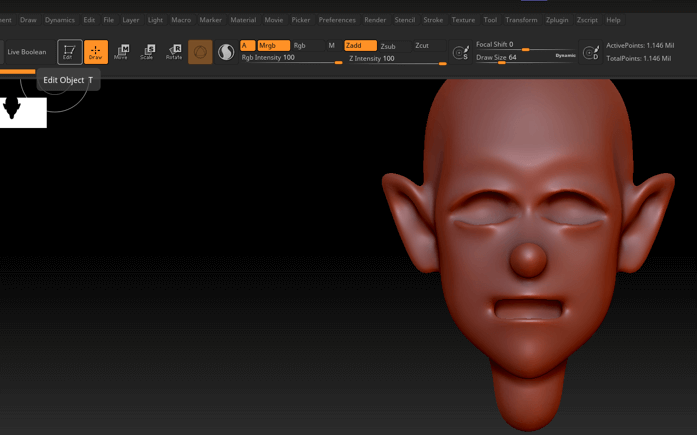
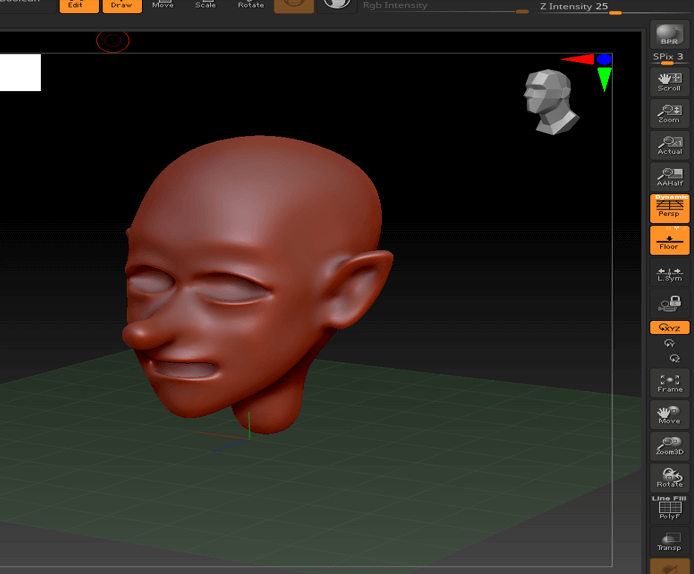
Step 5: After creating the sphere go to edit mode. This way will allow y'all to sculpt the 3D object. Also, when you place a archaic 3D object in the edit mode it will automatically be cloned in the tool palette.
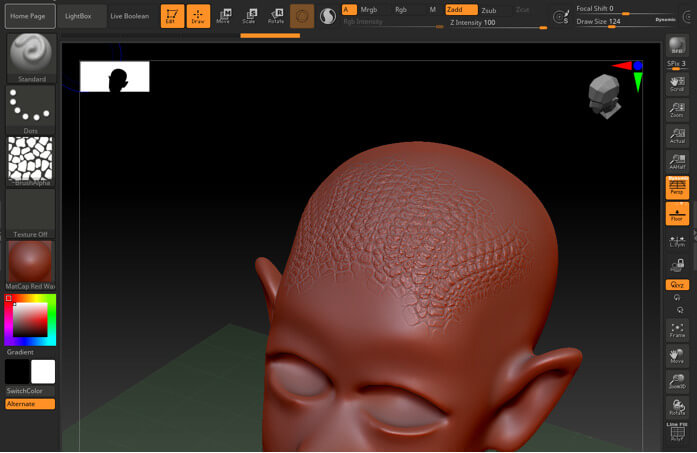
Step half-dozen: Enable the perspective button to which will apply perspective foreshortening to a 3D object. Also, printing Floor to activate the perspective flooring filigree which tin be activated per centrality, and past default, Y-axis is enabled.
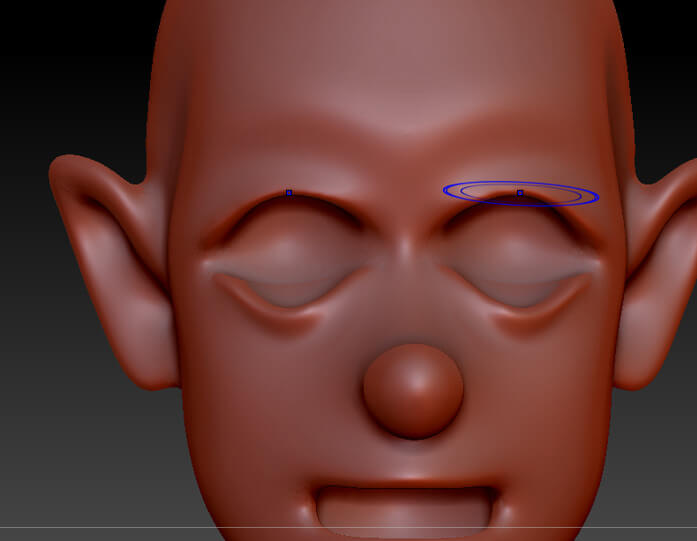
Pace 7: Let's start with the first brush which is Standard. The hotkey to select it is B – S – T.
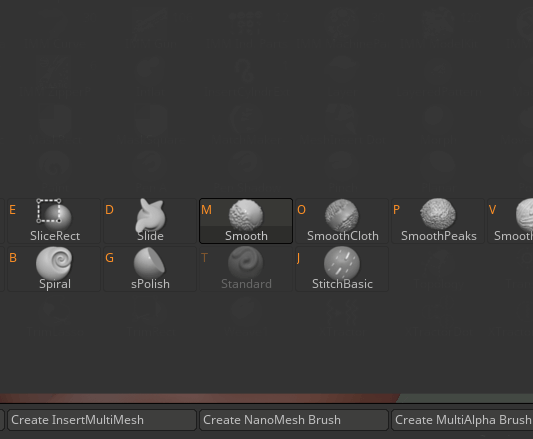
Pace viii: So, the Standard brush is the default brush in Zbrush and information technology displaces the vertices outward giving an illusion of a clay build-up to a sculpture. Diverse modifiers such as strokes, alphas, and edit curves can exist used with it, and pressing Alt reverses the effect and causes it to carve in instead of build-up. You tin can conform Z intensity to adapt how the depth information is applied to the current tool or object and draw size determines the size of brush strokes or editing actions. If you want more fine-tuning, then you tin utilize the focal shift but its uses are rare and it is mostly to control the falloff how steep or shallow you desire.
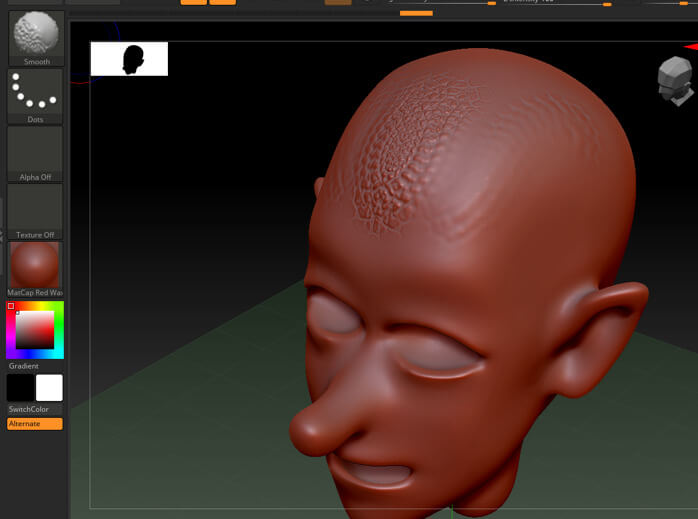
Step 9: Next brush which is Polish. The hotkey to select it is B – S – M.
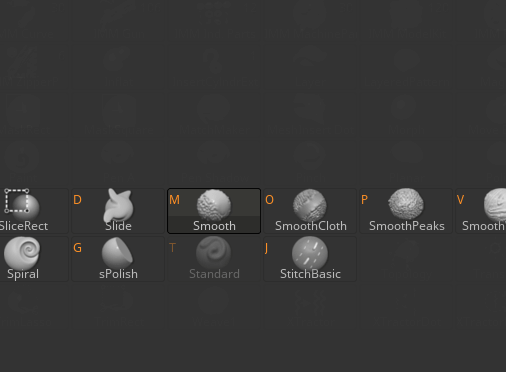
Step x: Smooth brush first calculates the average level of the surface and then smooth the details accordingly towards an average level.
Pace 11: Adjacent brush which is Move. The hotkey to select it is B – One thousand – V.
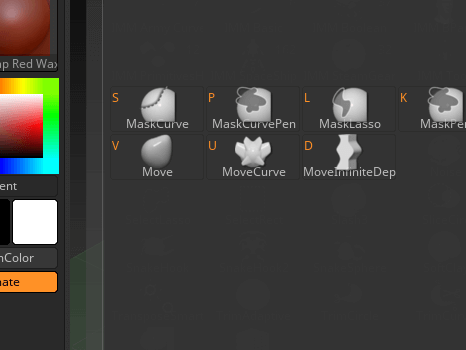
Footstep 12: The move tool tin exist used to make a subtle adjustments and to alter some of the facial features to indicate emotions as well as to get a more than natural asymmetric face. Move also ignore some brush modifiers like strokes.
Step 13: Next brush which is Inflate. The hotkey to select it is B – I – N.
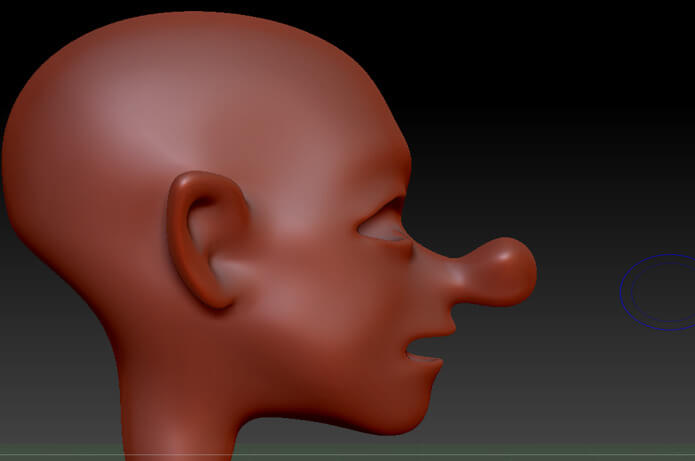
Step 14: Inflate use the vertices of geometry and is expanded on their own normal every bit opposed to standard castor which pulls or pushes the geometry along the center of the castor. This brush is especially useful when displacing a large corporeality of surface with one or two strokes.
Step 15: Side by side brush which is Elastic. The hotkey to select it is B – Due east.
Pace 16: The working of Elastic brush is like to Inflate simply for some models, information technology maintains the original shape of the surface equally the deportation of surface happens. Yous really need to experiment to see which type of brush to use in your specific example.
Step 17: Next brush which is Readapt. The hotkey to select it is B – D – I.
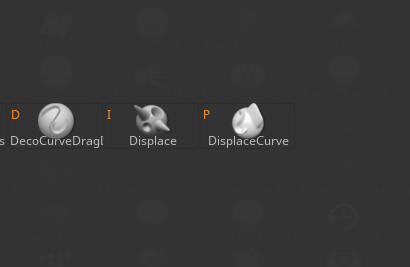
Step eighteen: Displace has the working like to Inflate brush only the details of the underlying surface are kept intact which suggest in that location is a swelling in case of humans or displacement in any other model.
Step 19: Side by side brush is Magnify. The hotkey to select is B – M – A.
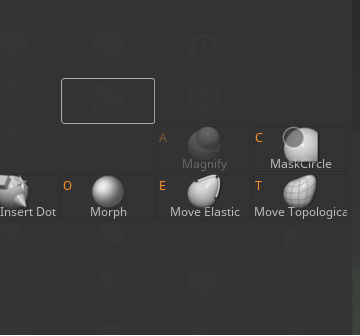
Stride 20: Magnify brush cause deportation of the surface at the same time the vertices are pushed exterior of the surface. The amount of magnification can be controlled past Z intensity.
Step 21: Next brush which is Hulk. The hotkey to select it is B – B.
Footstep 22: Hulk Brush is good at creating organic effects chop-chop. It uniformity depends on the irregularities in the surface as it typically produces short irregular blob. The outcome is not apparent if used on polish surfaces.
Step 23: Adjacent brush which is Compression. The hotkey to select it is B – P – I.
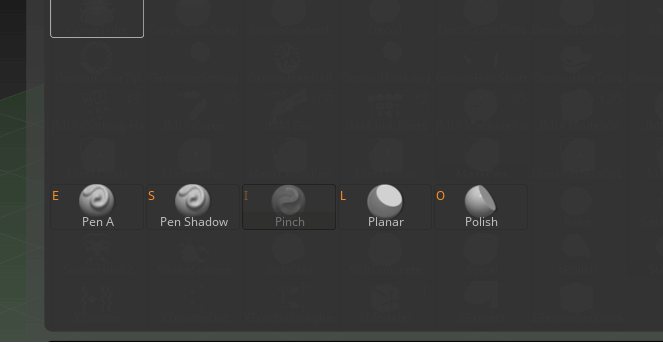
Step 24: Pinch brush pulls the vertices together and it is similar opposite of Magnify brush. It is very useful for clothes or creating wrinkles. Pinch is usually used with a Lazy mouse to achieve ridges that are precise and smooth.
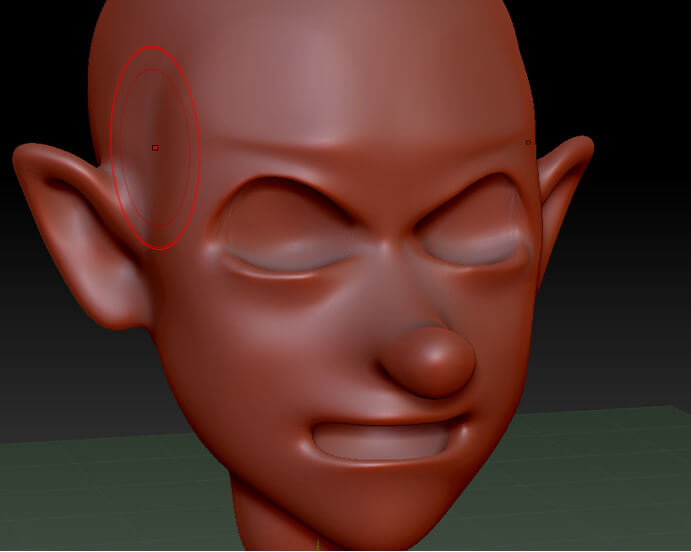
Pace 25: Adjacent castor is Flatten. The hotkey to select is B – F – A.
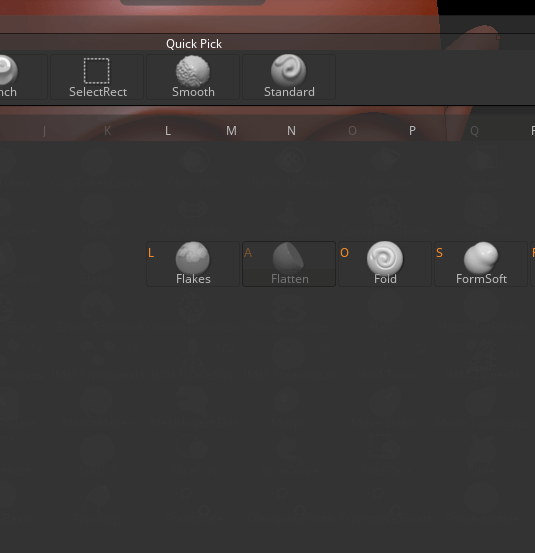
Step 26: Flatten brush as the name suggest makes the surface apartment and you tin press down parts into planar surface which will lower or heighten the surface. The angle of apartment surface will be dependent by the surface area under the eye of the castor. You tin use this in conjunction with a Smooth surface if the surface is non flat plenty to flatten.
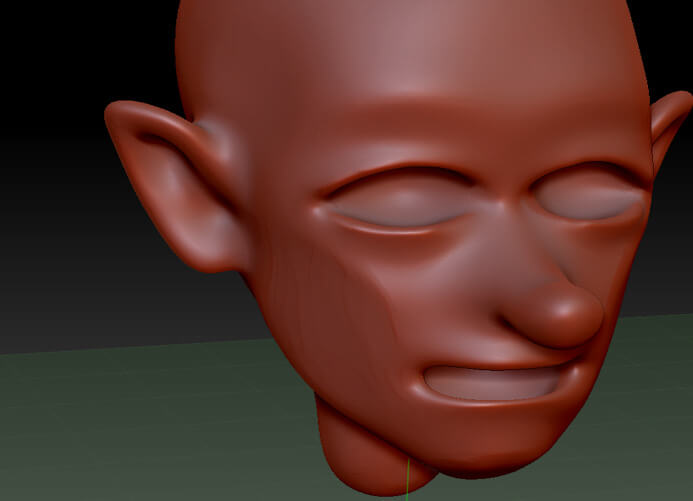
Step 27: Adjacent brush is Clay. The hotkey to select it is B – C – Fifty.
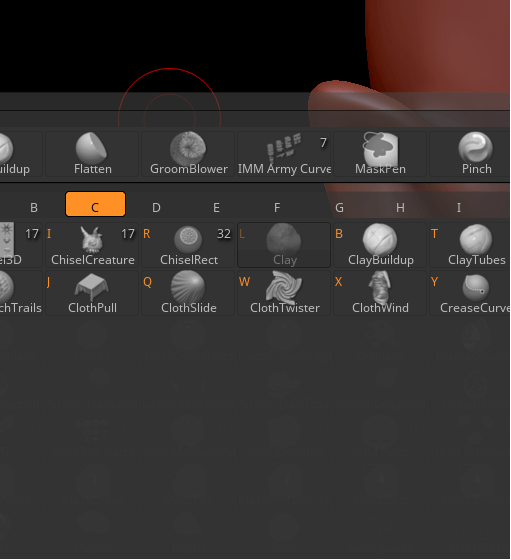
Pace 28: The main purpose of a clay brush is sculpting using alpha. Though other brushes may be used only may have side effects because of their ain purpose while clay brush is intended to be used with alpha without side issue.
Conclusion
In this article, we have learned how to use brushes in Zbrush. Firstly, nosotros have started with loading a tool then we starting working on various brushes and demonstrating their general uses and specific use cases if whatever. We have likewise seen the hotkeys for each castor then we tin accept faster access to that brush.
Recommended Articles
This is a guide to ZBrush brushes. Here we discuss the Introduction, Steps to create ZBrush brushes. You may also accept a look at the post-obit articles to learn more –
- ZBrush Tools
- ZBrush Plugins
- ZBrush Alternatives
- What is ZBrush?

Source: https://www.educba.com/zbrush-brushes/
Posted by: strainhusafter1999.blogspot.com
0 Response to "How To Install Brushes In Zbrush"
Post a Comment